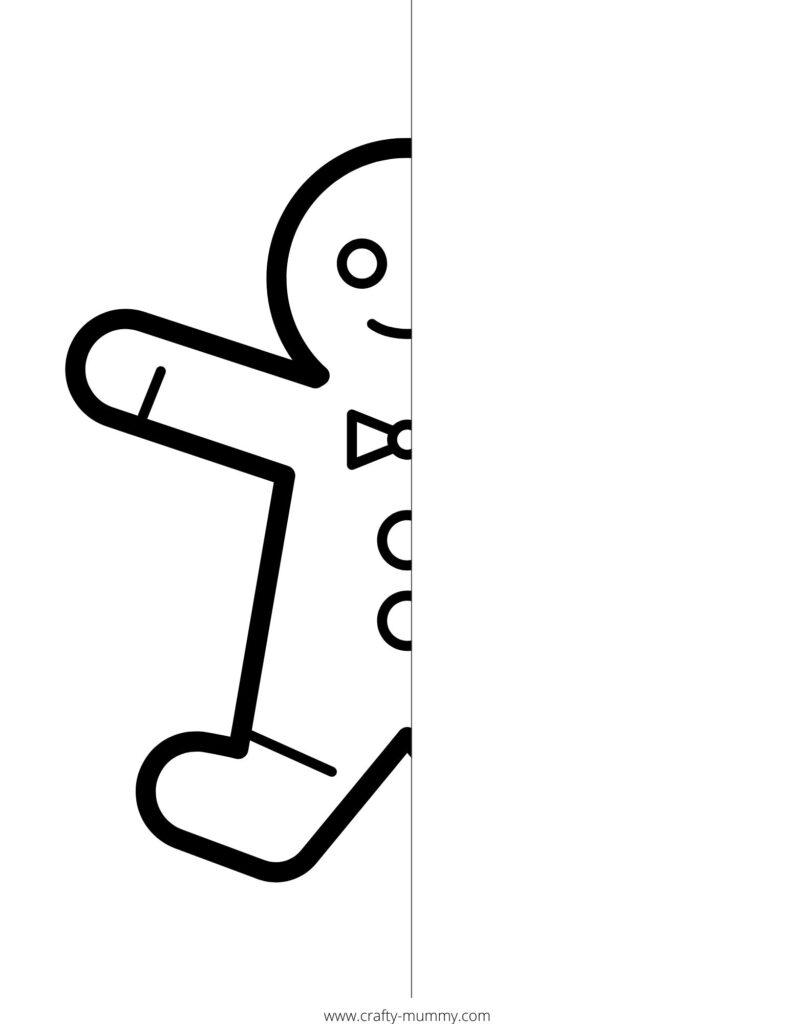
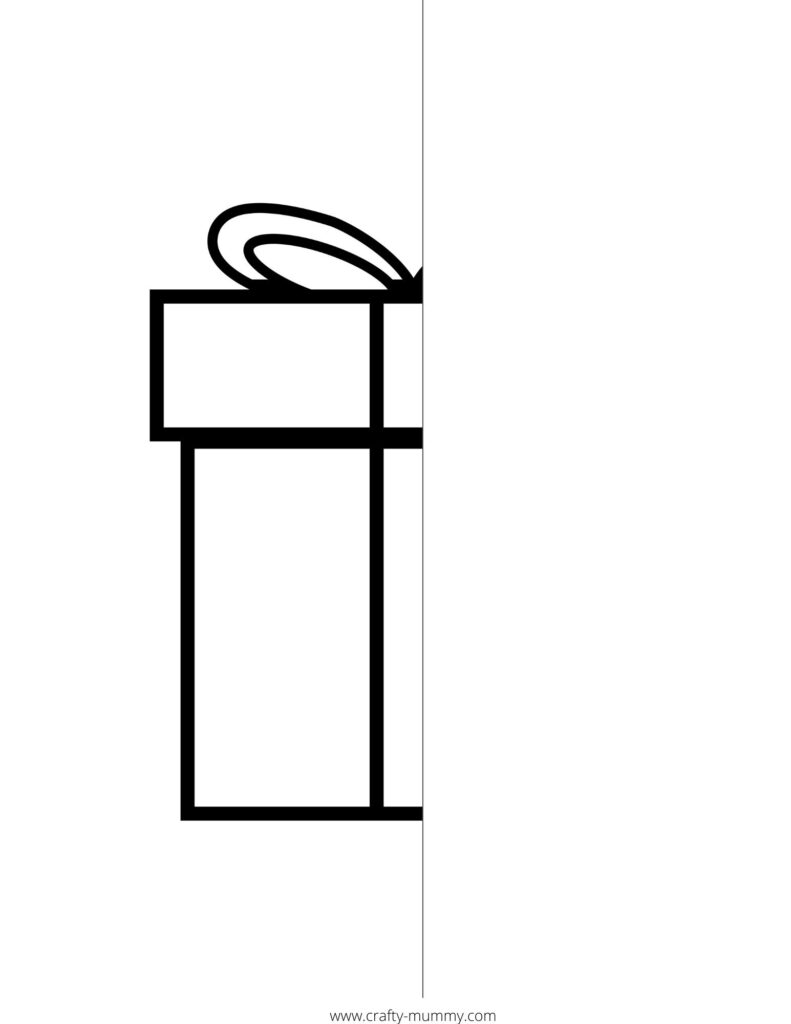
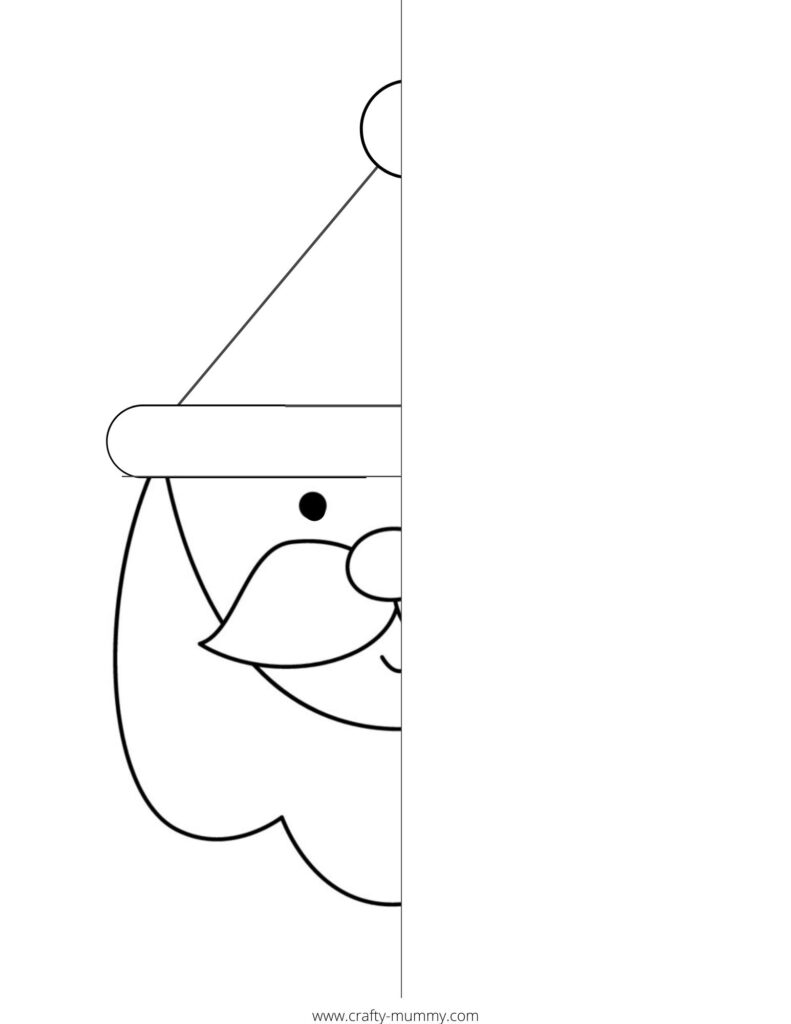
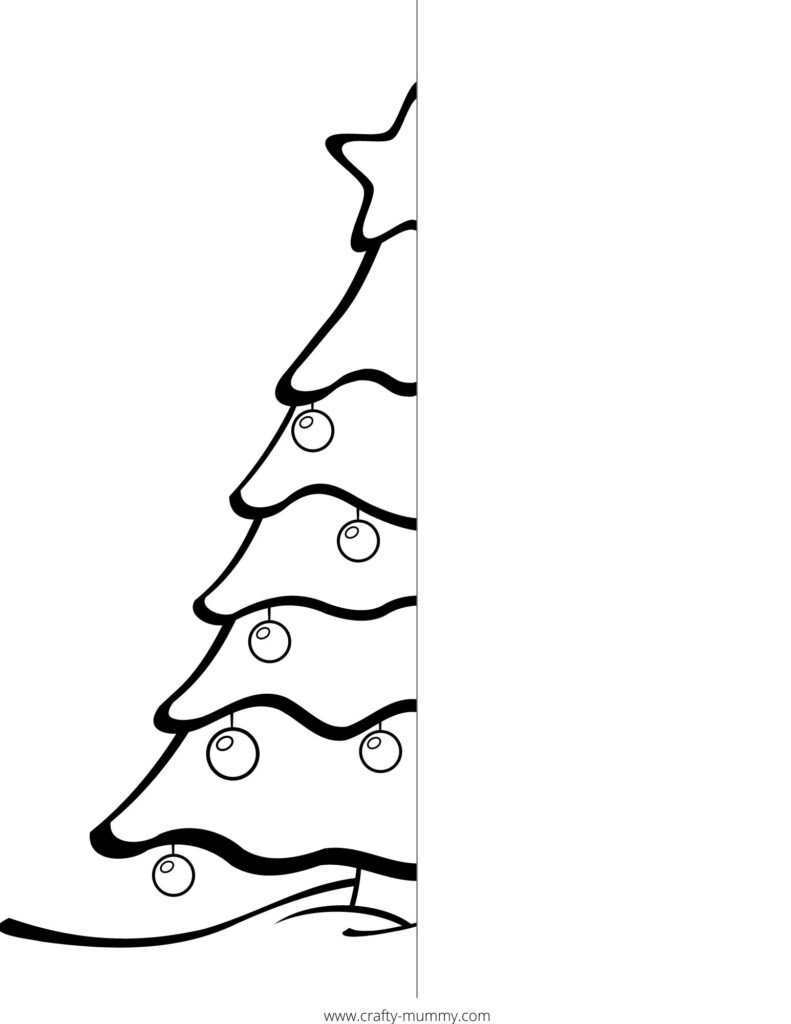
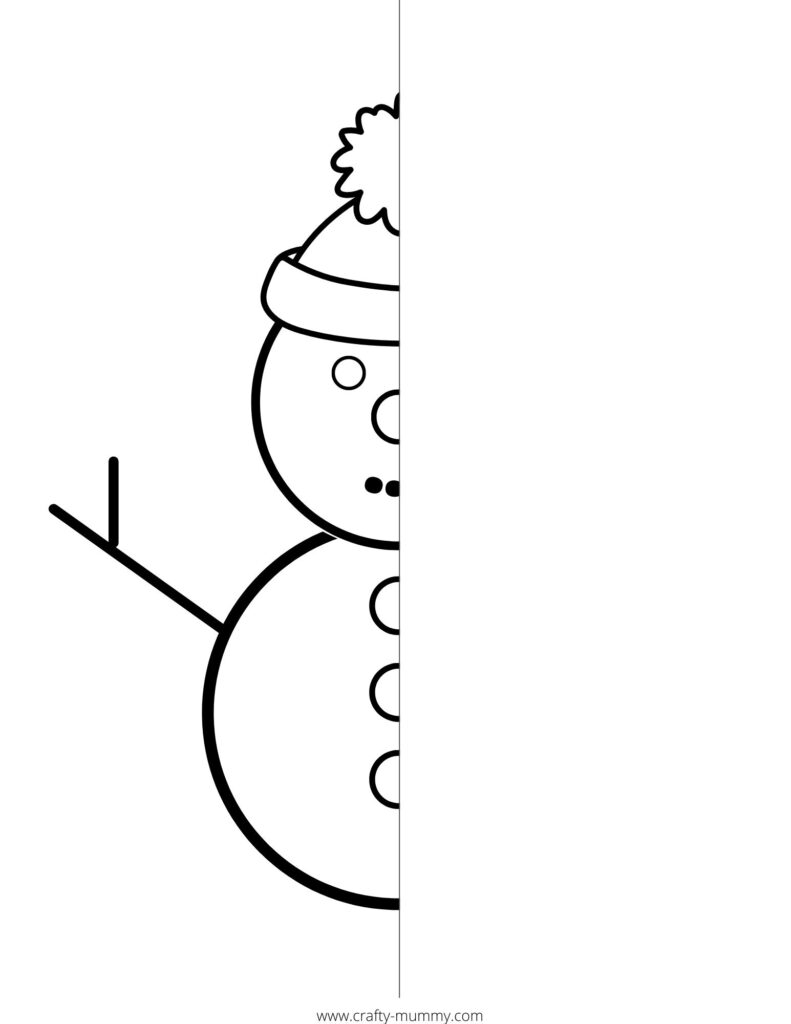
These Xmas symmetry worksheets are a great little festive activity that is not only fun but also teaches a little math. When teaching kids math it usually helps to keep it fun. Especially with younger children. Keeping their focus is key.
Symmetry is a great way to introduce mirror images. When teaching children about symmetry, they will learn that one side of an image is identical to the other side. In other words, if a line is drawn down the middle of that image, both sides should look exactly the same.
Choose from 5 different designs and have your kids create some symmetrical art!
Getting Started
Before you start, make sure that you have a mirror handy. Having the mirror will help kids to see what the opposite side of the image looks like.
The idea is to complete the picture and make the opposite side look as identical as possible to the one they see in the mirror.
When looking through the mirror, it will give the kids a guide to when they start to draw.
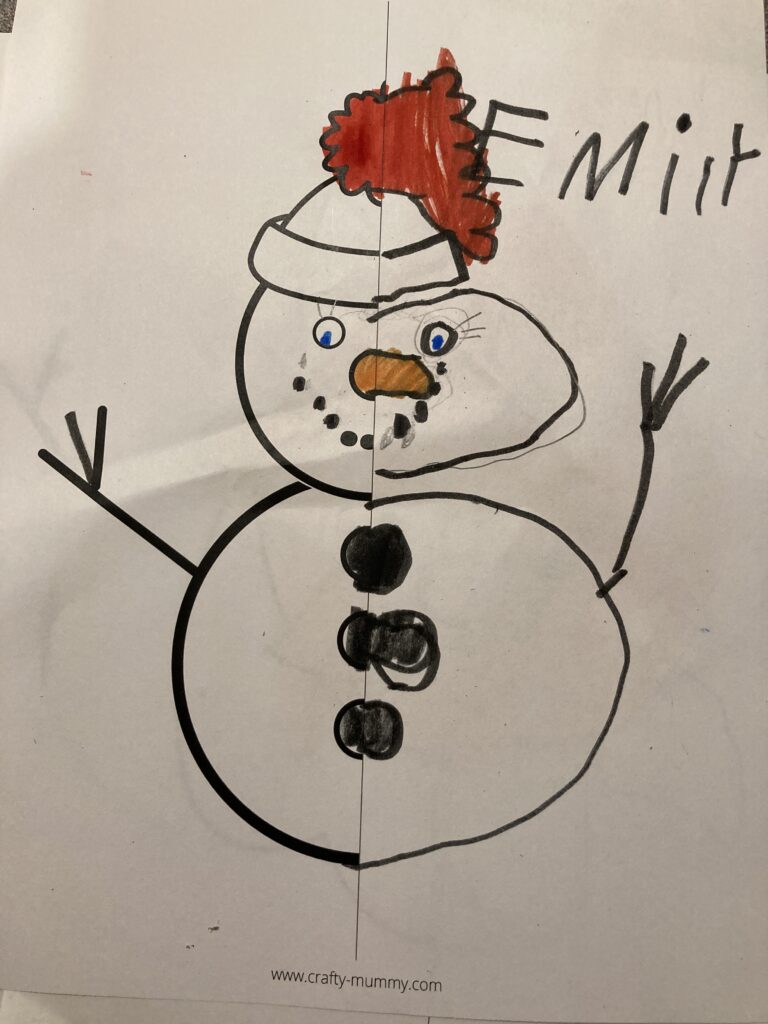
My daughter was trying to draw the other side whilst I held the mirror up. That made it a little easier and she kept checking to see that she was adding details that she saw in the mirror.
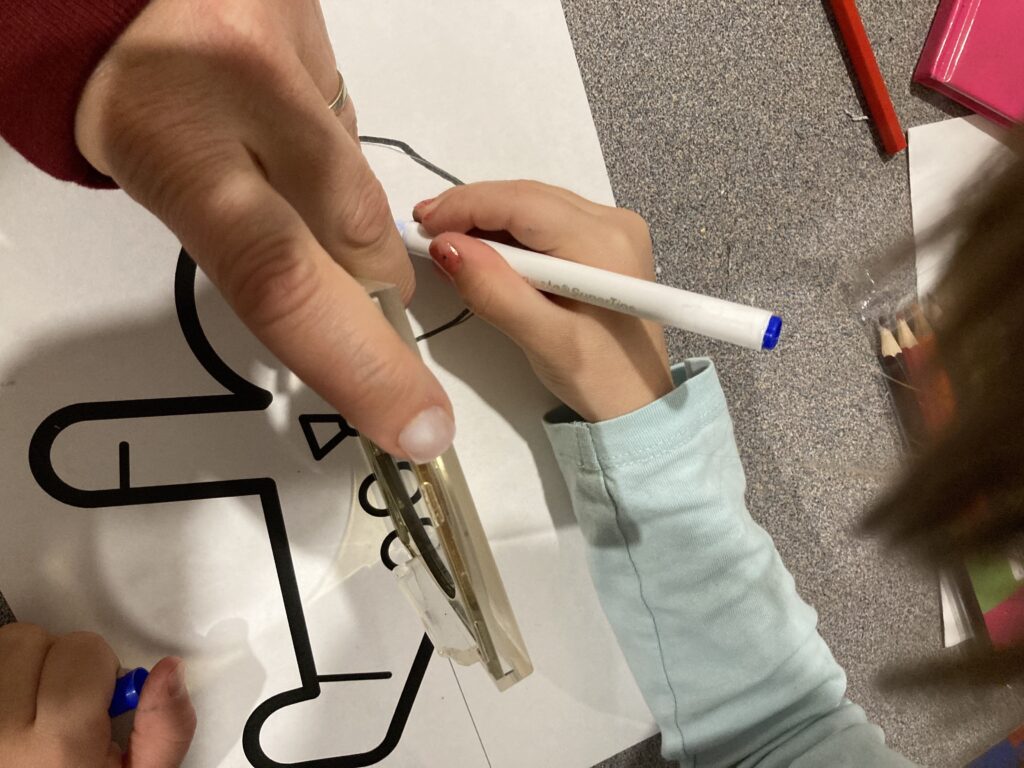
Some of the images are a little trickier than others. This is just because of the shape in the image. There may be more curves than straight lines. And they take a little more concentration.
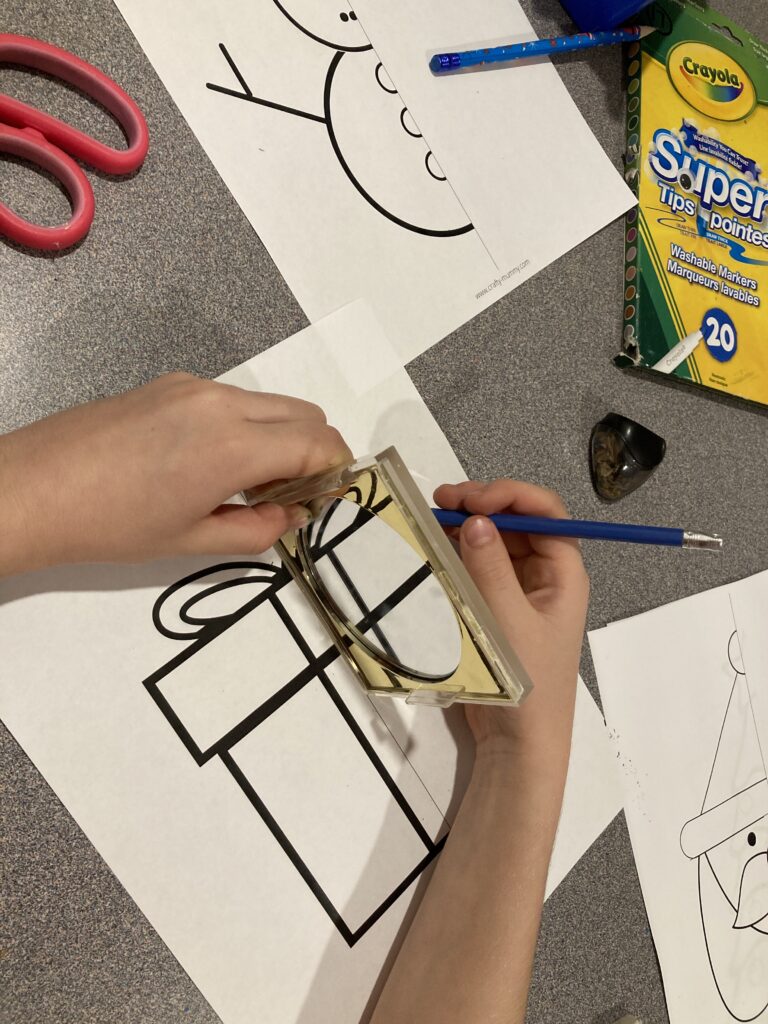
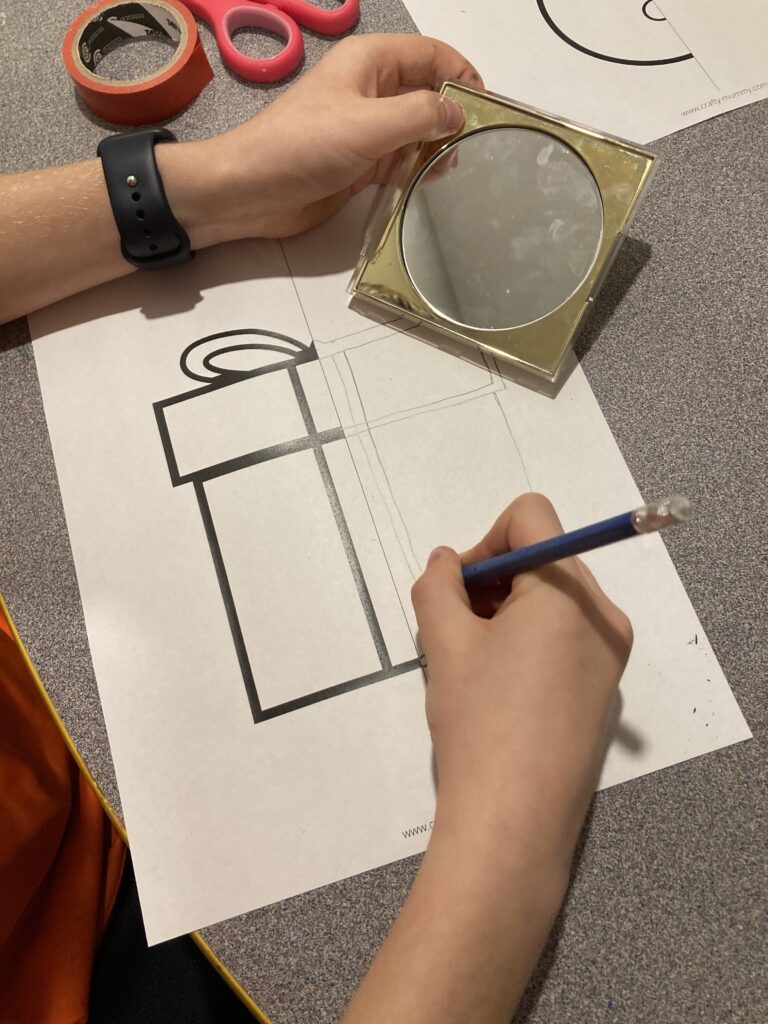
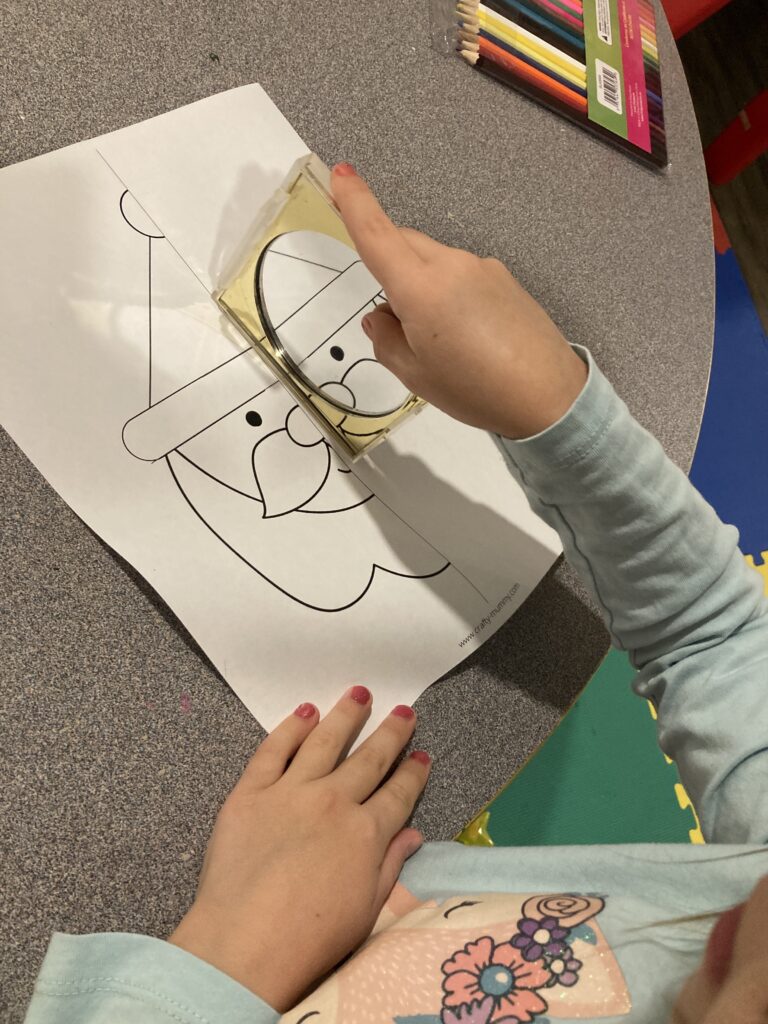
Once the outline is done then the extra details are easier to add. Things like eyes or buttons are easier to see. Also making a mouth where a line has to be drawn to make it longer.
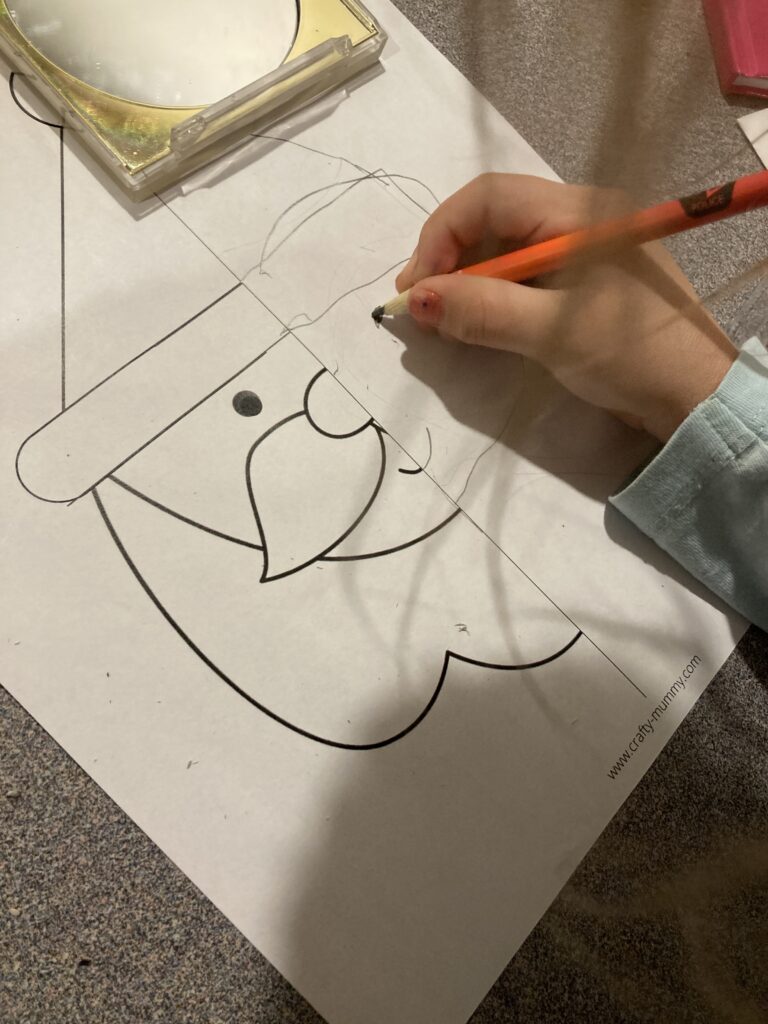
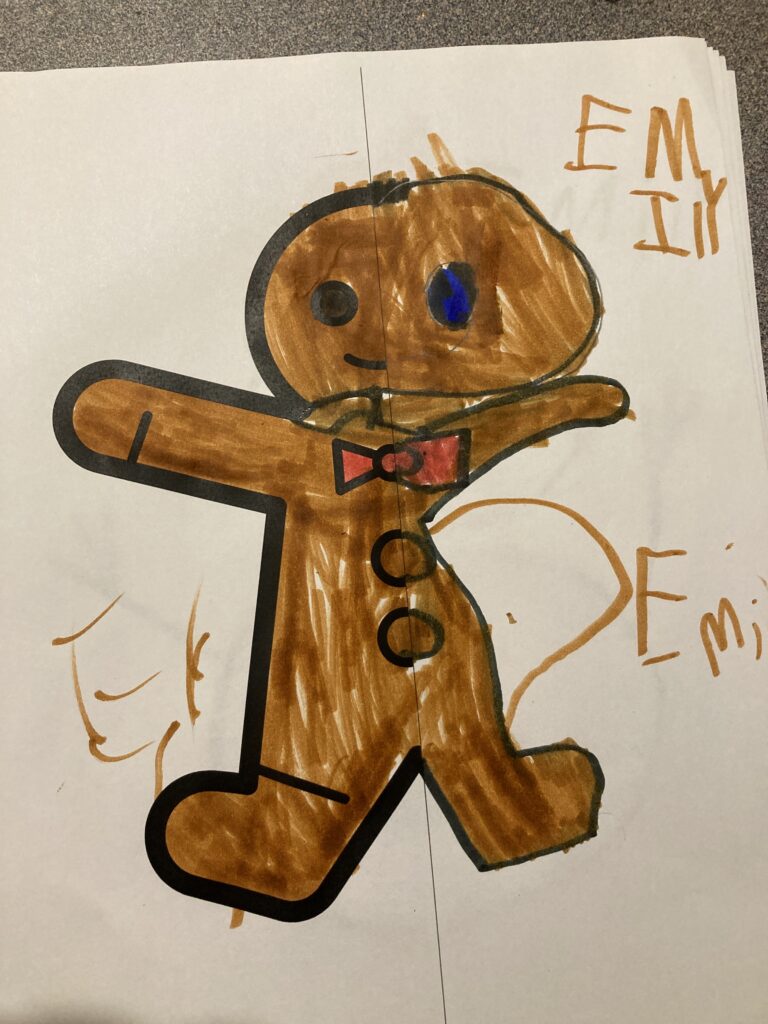
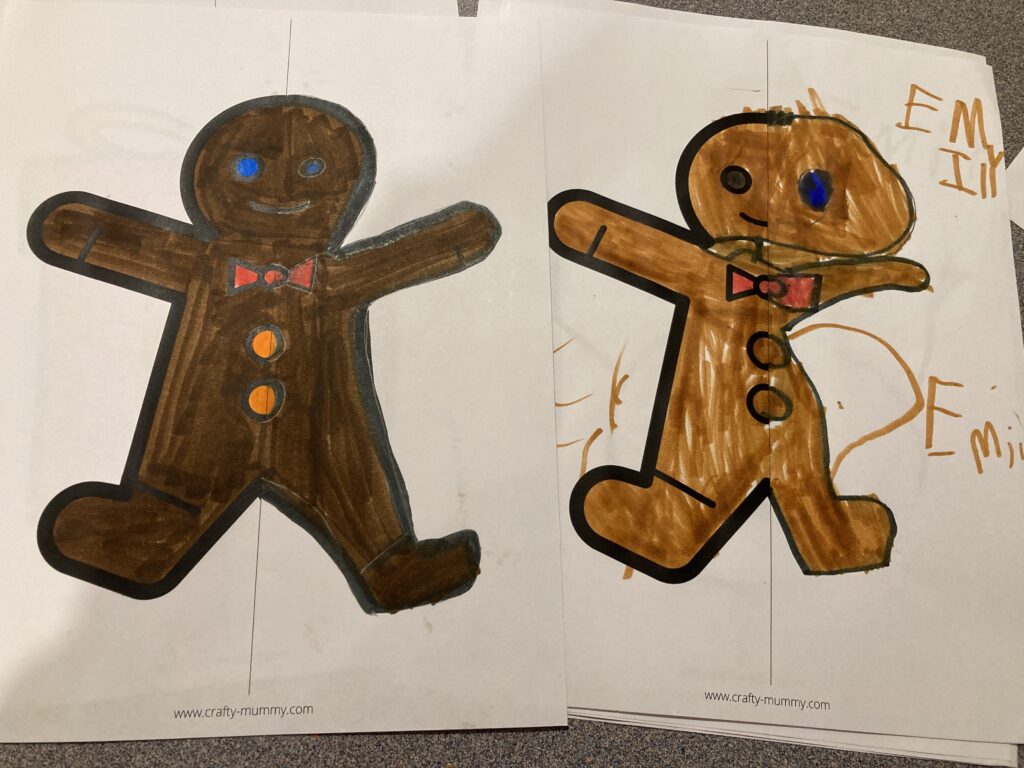
Once kids have drawn their mirror image and made the opposite side of their picture, they can start to colour it. The colouring part is a little easier and makes the mirror image more visible to children. My daughter enjoyed adding the arms on her snowman and even added another twig to her sticks.
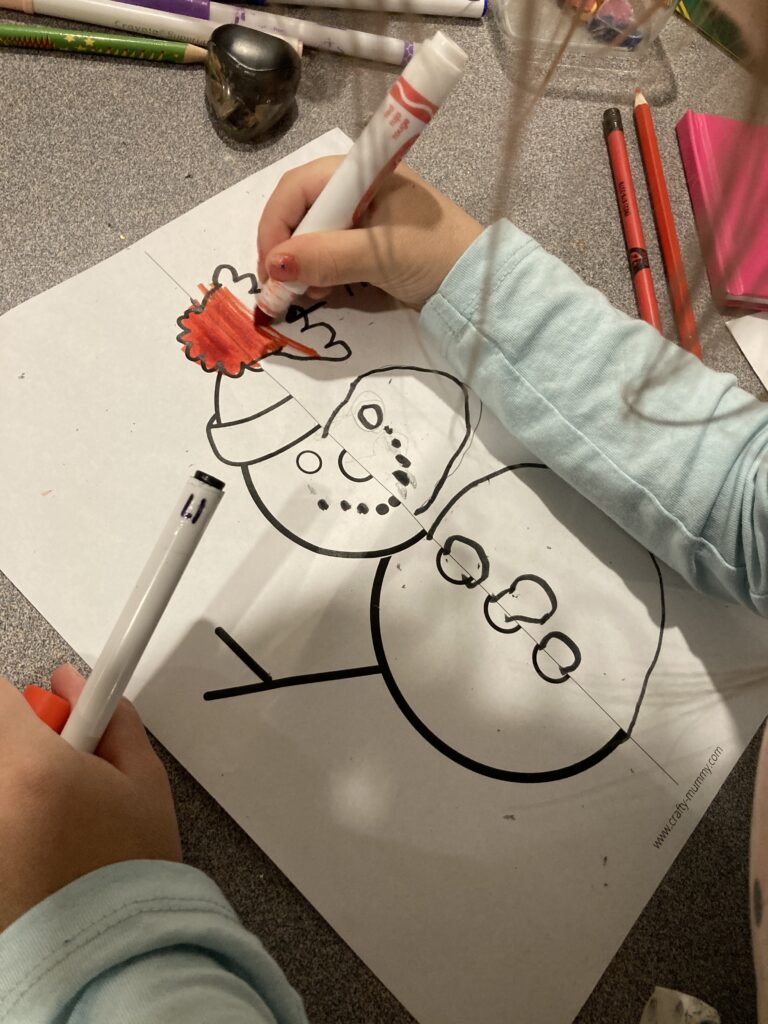
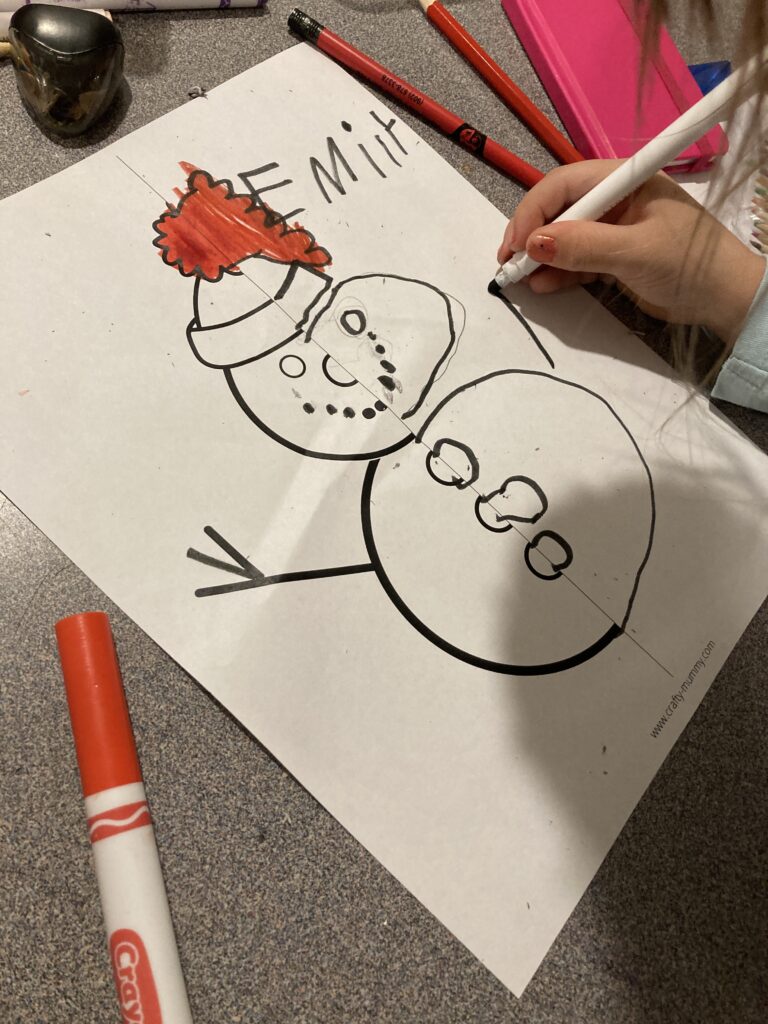
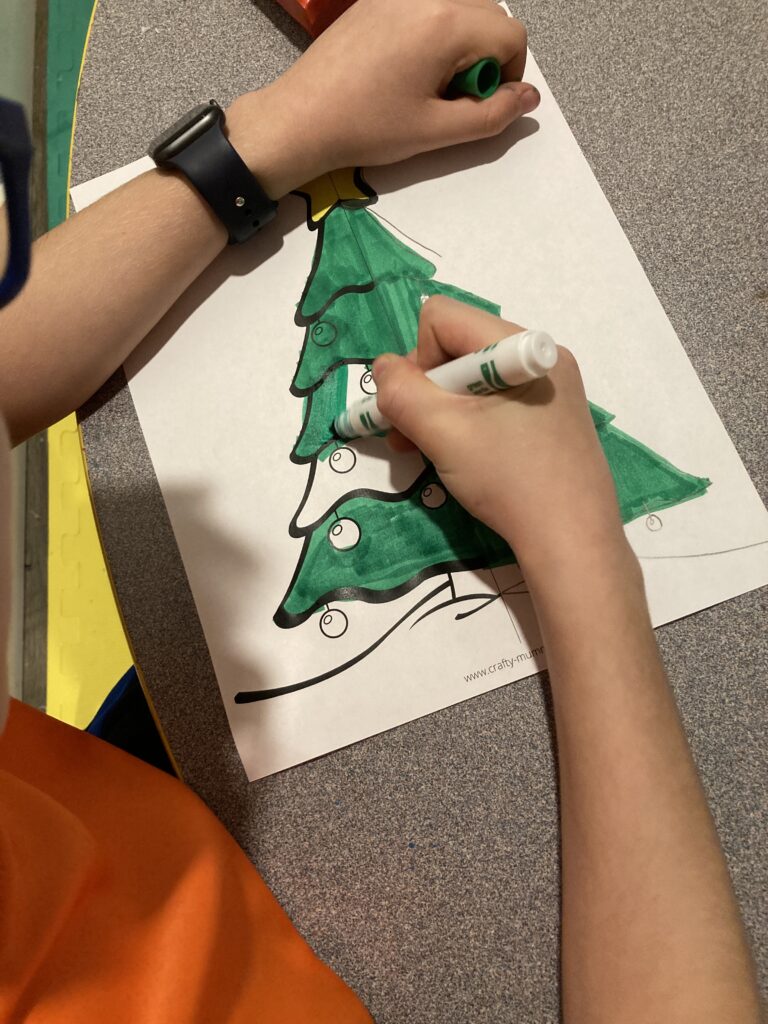
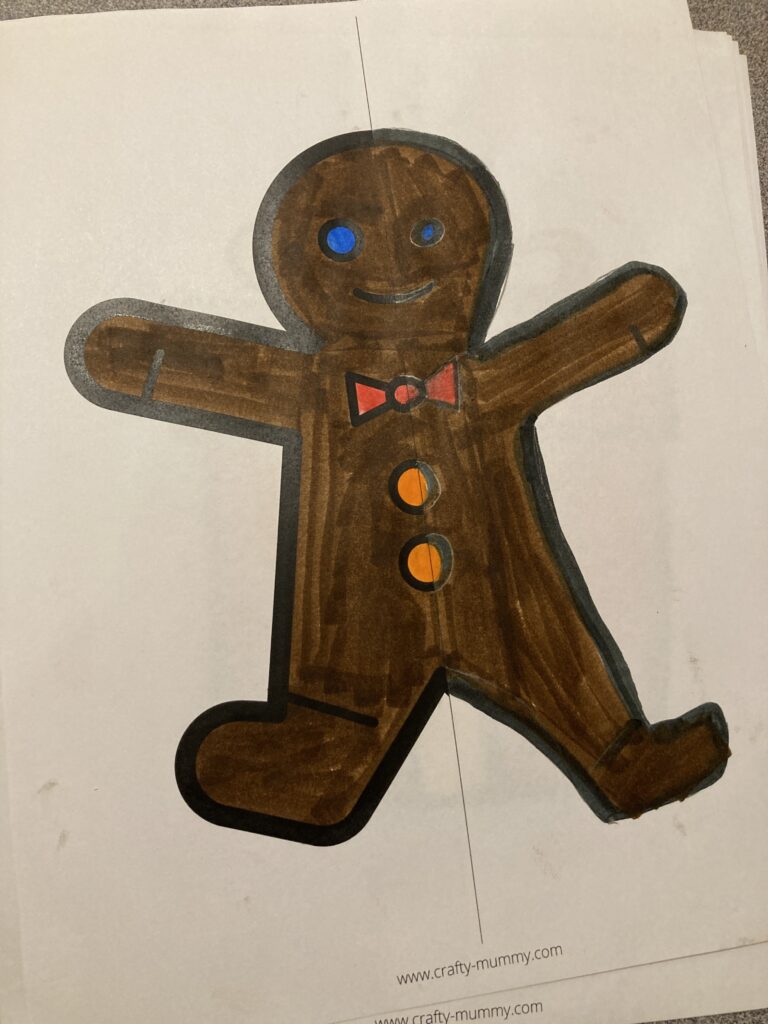
My 10 year old son has had a bit more practise with symmetry so he was able to do the lines and shapes a little easier. These xmas symmetry worksheets were a challenge for him as there was more detail.
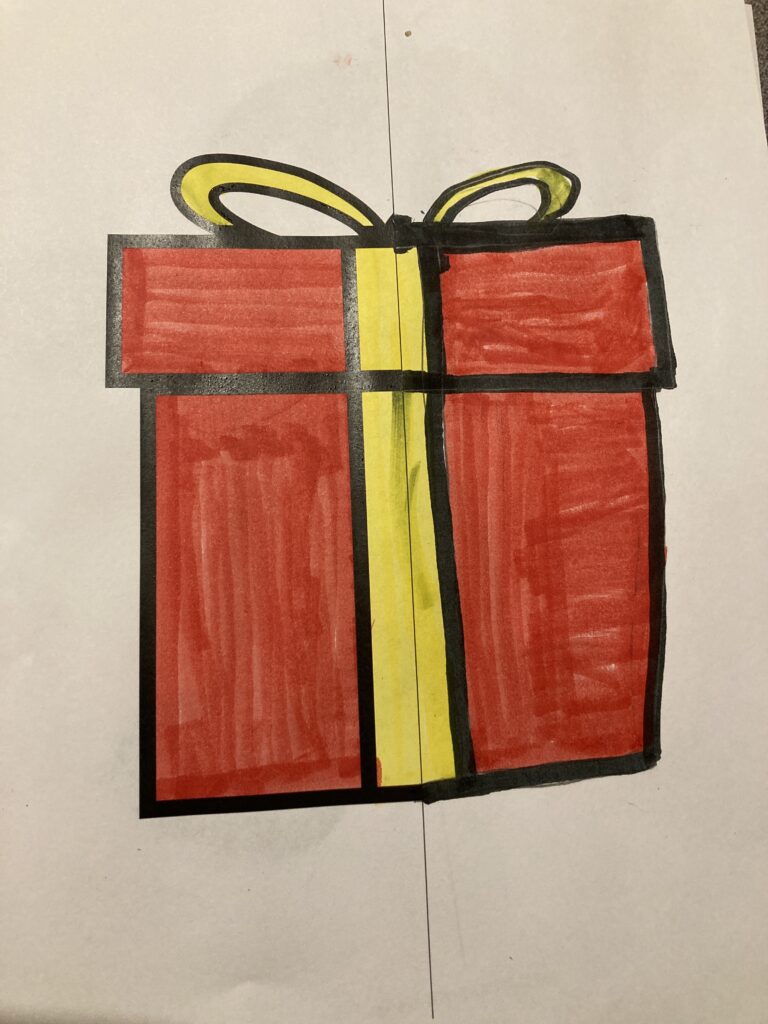
And of course the images don’t have to be perfectly exact. This activity just teaches children about how symmetry works and that some pictures are the same on both sides.
What Is Symmetry?
The best way to describe symmetry to young children is, something being the same on each side. An object can also be symmetrical if it is moved or flipped. Many letters and shapes are symmetrical also.Some good examples to show your kids are;
- Letters like A, H, I, M, O, T, U, V, W, X, and Y
- Numbers like 0, 3 and 8. The number 3 is symmetrical when split horizontally.
- Shapes such as Square, Triangle, Circle, Heart, Rectangle, Hexagon, Octagon, Pentagon.
Perhaps have some images of symmetrical objects and have your child draw a line down them. Similarly have them look at images that are not symmetrical. So they can see the difference.
Making Fun Art
And of course if your kids are arty and creative they will enjoy this xmas symmetry activity. It doesn’t have to be stressful or frustrating. Although I know some children are perfectionists and will want to make their image the same. Making it fun for kids to do is important.
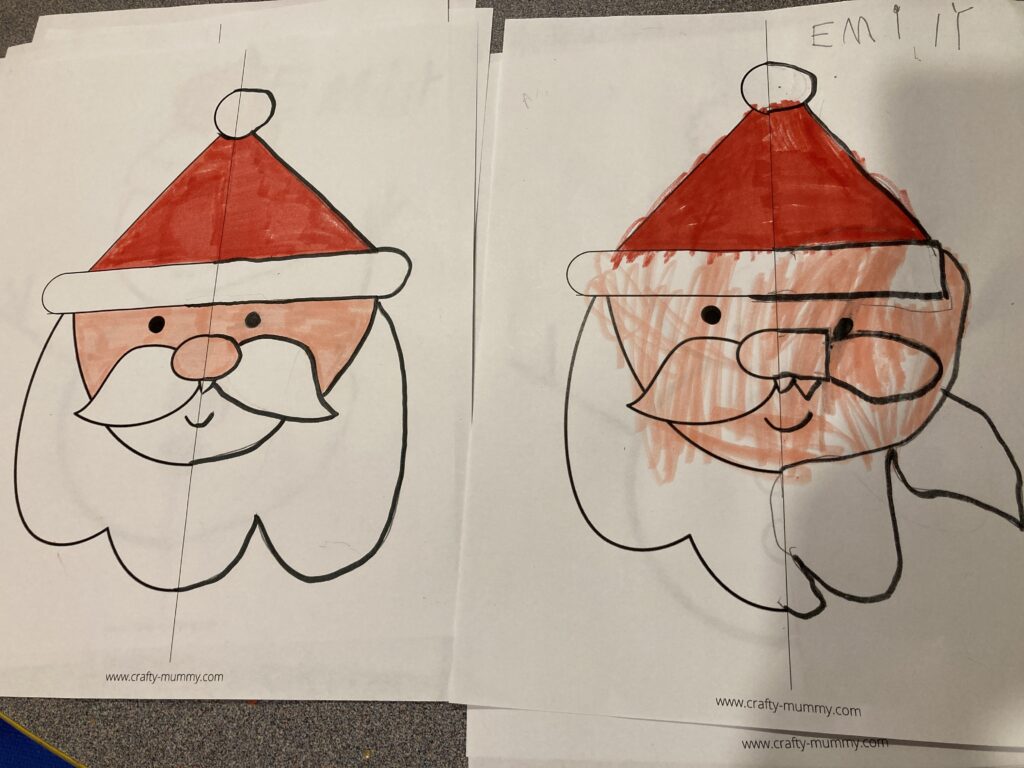
I think the kids did awesome with their xmas symmetry art.
Other Creative Math Ideas
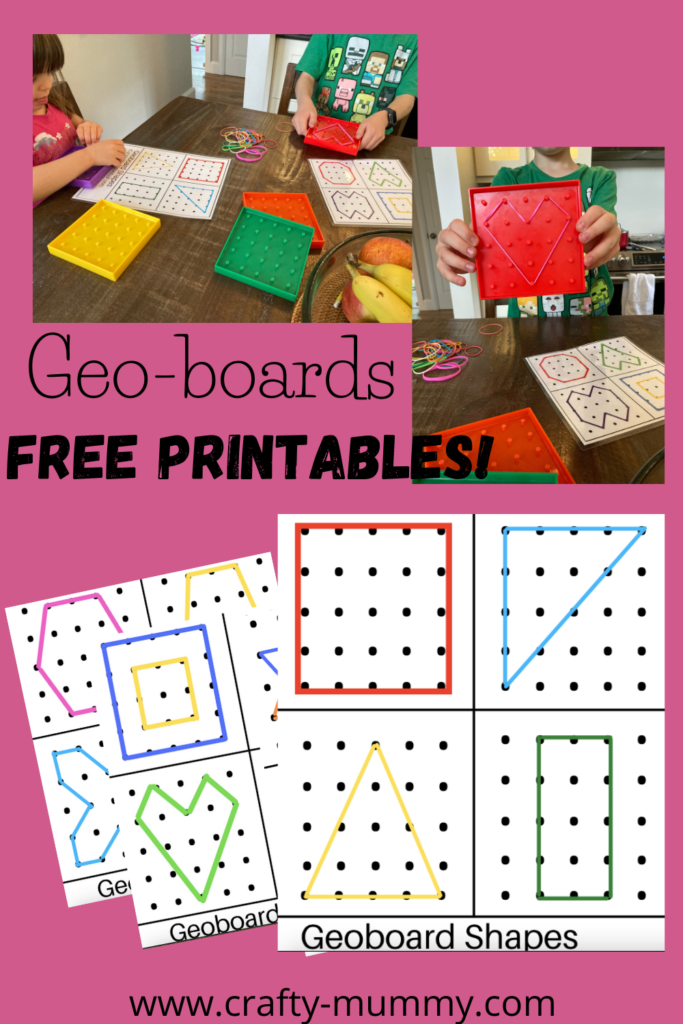
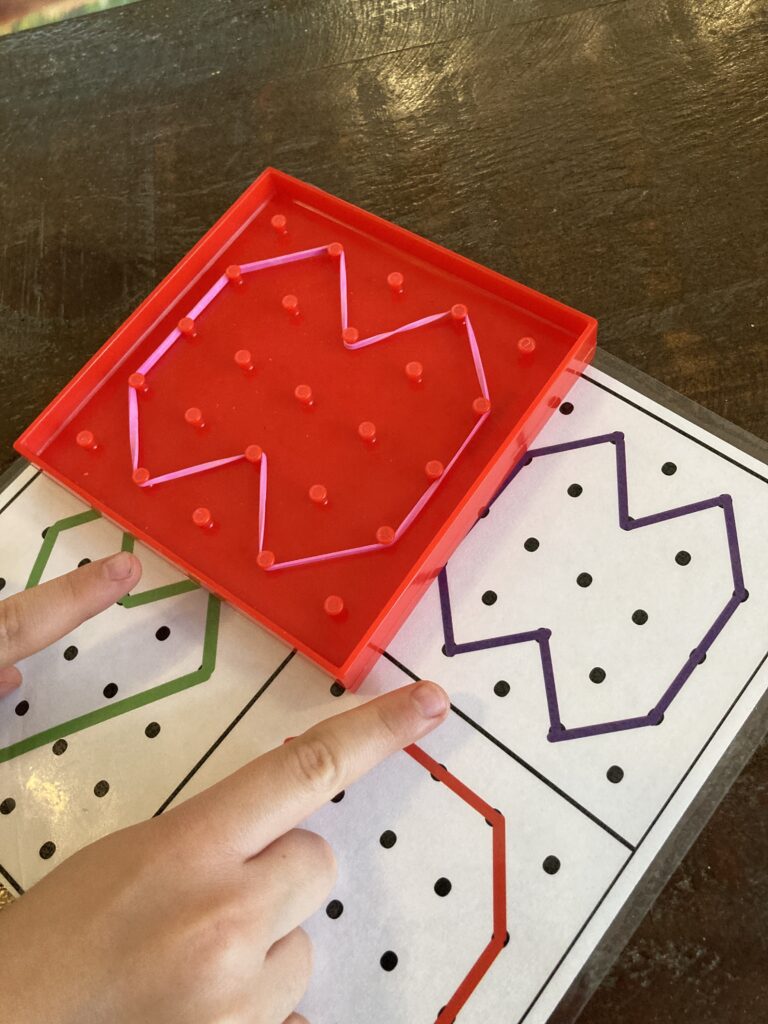
How about trying Geoboards with the kids? These are also a good tool to help when teaching symmetry. You can check out our post on Geoboards and use our FREE printable sheets.

